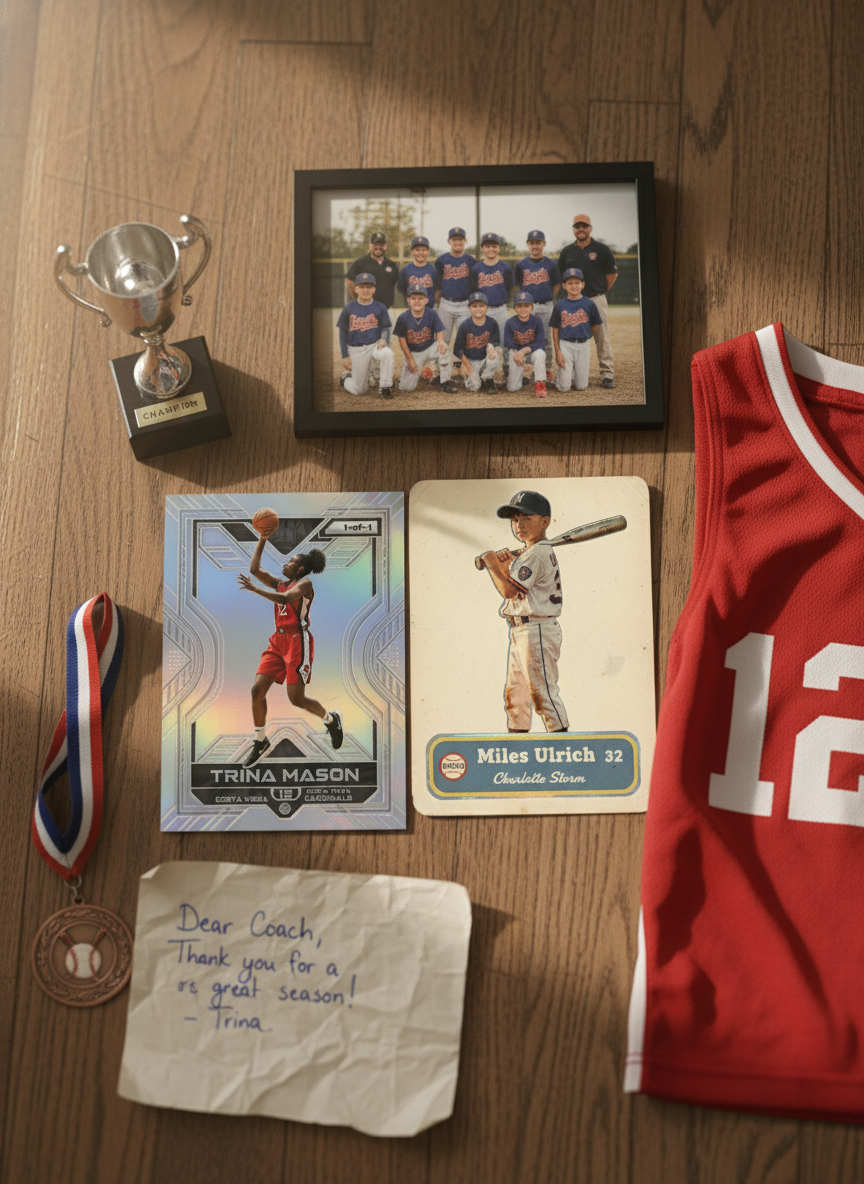

Somewhere on your phone is the photo. Your kid mid-swing. The whole team dogpiling after the last out. A grandpa in his old league jersey, scanned from a shoebox. The photo is already the hard part — you took it, and it's good. Turning it into a real trading card is the easy part, and it's mostly about picking the right shot to start with.
This guide is about the photo side: what makes a picture turn into a great card, the mistakes that quietly hurt the result, and how the tool handles everything from a crisp action shot to a slightly blurry gym photo. For the full walkthrough of the whole flow, see How to Make a Custom Trading Card. Here, we're focused on getting the photo right.
Why the photo matters most
Every custom card starts from one image. The name, number, and style get layered on top, but the photo is the foundation — it decides how the subject is lit and posed, and how much the finished card looks like the person you love versus a generic athlete.
The good news: you do not need a professional camera. A phone photo straight from the camera roll works. You just want to start from your best shot rather than the first one you find.
What makes a good source photo
A few things consistently produce the best-looking cards:
- The person is clearly the focus. They fill a good portion of the frame and stand out from the background. If you have to squint to find them in a wide field shot, so does the tool.
- Decent lighting. A bright outdoor photo beats a dim gym shot every time. Even light on the face — no harsh shadow cutting across half of it — reads best.
- Sharp enough to see the face. A little motion blur on the body is fine and can even look dynamic. A blurry face is the one thing that's hard to recover.
- A natural, confident pose. Whether it's a mid-action swing or a posed picture-day stance, you want the subject looking engaged, not caught mid-blink.
Here's a quick way to think about which photos to reach for:
| Photo type | Works for cards? | Why |
|---|---|---|
| Bright outdoor action shot | Best | Great light, dynamic pose, subject in focus |
| Posed picture-day photo | Excellent | Clean framing, face lit, subject centered |
| Indoor gym / dim lighting | Usually fine | The tool is forgiving; just pick your sharpest one |
| Wide field shot, subject small | Weak | Subject gets lost; crop in first if you can |
| Blurry face | Avoid | The one thing that's hard to fix |
Action shots vs. posed photos
Both make great cards — they just make different cards.
Action shots — the swing, the shot, the sprint, the celebration — carry energy and tell a story. They pair especially well with the high-energy styles like KAPOW!, ON-FIRE, and VIDEO GAME, where motion is the whole point. If the ball is in frame, even better.
Posed photos — team picture day, a portrait in the driveway, arms crossed in the jersey — give you a clean, centered subject with a lit face. These are the safe, always-works choice, and they shine with the classic styles like VINTAGE and ALL-STAR RETRO that echo the cards you grew up with.
If you're building a full set for a team, a mix of both keeps the collection from feeling repetitive.
Backgrounds, resolution, and framing
A few smaller factors that make a real difference:
- Backgrounds. A cleaner background (open field, gym wall, sky) keeps the attention on the subject. A busy background with lots of other people can compete for focus. You don't need a plain backdrop — just be aware that the more cluttered it is, the harder the subject has to work to stand out.
- Resolution. Bigger is better. A full-size photo from your phone or camera has plenty of detail. A tiny, heavily compressed image pulled from a group text or an old social post is where quality drops off, because there simply isn't much detail to build from.
- Framing and orientation. Trading cards are taller than they are wide, so a vertical (portrait) photo frames most naturally. Horizontal photos work too — just make sure the subject isn't stuck at the far edge of the frame.
You don't have to crop or edit anything first; the tool centers the subject for you. But if your subject is tiny in a huge wide shot, a quick crop to bring them closer gives you a stronger starting point.
Common photo mistakes
The card fell flat? It's almost always one of these:
- The subject is too small. A great catch in the outfield loses its punch when the player is a speck. Crop in first.
- The face is in shadow. Backlighting — bright sky behind, dark face in front — is the sneakiest one. Pick a shot where the light is on them, not behind them.
- You grabbed a low-res copy. The version saved from a group chat is often a fraction of the original. Go back to the camera roll for the full-quality file.
- Too many people in frame. For a single-player card, a photo where it's clearly one athlete works better than a cluster where the tool has to guess who the card is about.
None of these are fatal — the generator is forgiving, and you can always regenerate — but starting clean beats fixing later.
Special photos: old, scanned, and just-for-fun
Some of the most-loved cards don't come from a phone at all.
- Old and scanned photos. A parent's or grandparent's old league photo makes a moving gift. Scan it as large as you can, and pick the sharpest print you have.
- Pets and non-athletes. The dog, the toddler who "plays" tee-ball, the friend who thinks he's a pro — they all make great cards. A clear, well-lit shot is still the whole game.
- Screenshots and stills. A frame grabbed from a game video works if it's high-resolution and the face is sharp. Blurry video stills are the usual weak point.
From photo to finished card
Once you've picked your shot, the rest is quick:
- Upload the photo to the card creator — straight from your camera roll is fine.
- Add the details — name, number, team, position. Spelling copies exactly as you type it, so double-check the name.
- Choose a style — VINTAGE, ALL-STAR RETRO, KAPOW!, METALLIC, GOAT-MODE, VIDEO GAME, and more. The same photo becomes a completely different card depending on the style.
- Generate and wait about a minute. If the first result isn't quite right, regenerate or try another style.
- Download, share a link, or order physical prints — real, glossy cards shipped to your door.
That's the quick version — the full walkthrough linked above covers each stage in detail.
Try it now: Turn your photo into a card — upload your best shot, add a name and number, and see the finished card in about a minute. Free to make your first one, no software to install.
The short version
Start from a clear, well-lit photo where your subject is the focus, lean vertical when you can, and use the full-resolution original instead of a shrunken copy. Do that, and the tool does the rest. The photo is already the memory — the card is just the frame worth keeping it in, and an easy keepsake for the whole season.
Related guides: